Portable Keurig: The WACACO Minipresso Is IDEAL for Travel

The convenience of a Keurig machine can’t be beaten, and until recently, the idea of a portabl Keurig was just a pipe dream. Being able to pop in a pod, hit a button, and have a fresh cup of coffee in under a minute is a modern miracle, but on a backpacking trail or while traveling…that kind of convenience would just be incredible.
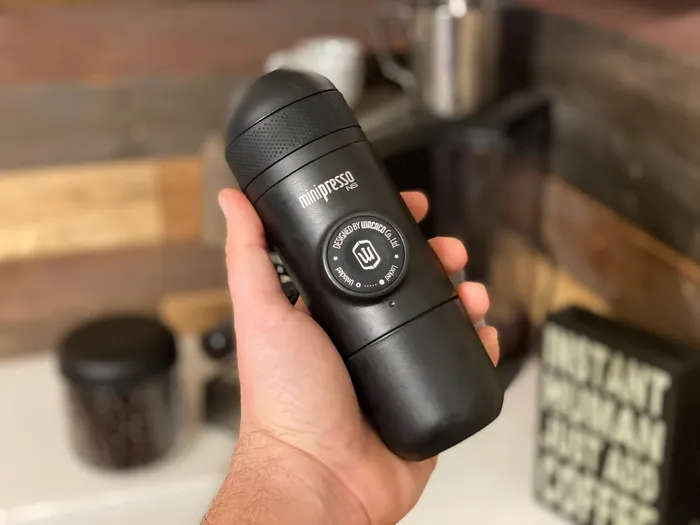
And now, the dream of a truly portable Keurig is a reality. My brother bought me the WACACO Minipresso as a best man gift, and travel coffee suddenly got a little more convenient. In this guide, I’ll talk about the appeal of a portable Keurig-style machine like the Minipresso, explain how it works, share my thoughts after using it, and discuss who I think it’s a great product for.
Does Keurig Make a Portable Keurig?
Keurig doesn’t actually make a portable version of their popular single-serve coffee machines. The smallest Keurig machine is the K-Mini, which is designed for small kitchens and saving counter space. But it still requires being plugged into an outlet to function…mobile, but not exactly portable.
This is where the WACACO Minipresso comes in. It’s the closest thing you’ll find to a truly portable Keurig machine. It’s actually more similar to a portable Nespresso machine since it takes Nespresso pods instead of K-Cups. Still, it provides the ultimate in single-serve coffee convenience in a compact, on-the-go package.
How the WACACO Minipresso Works
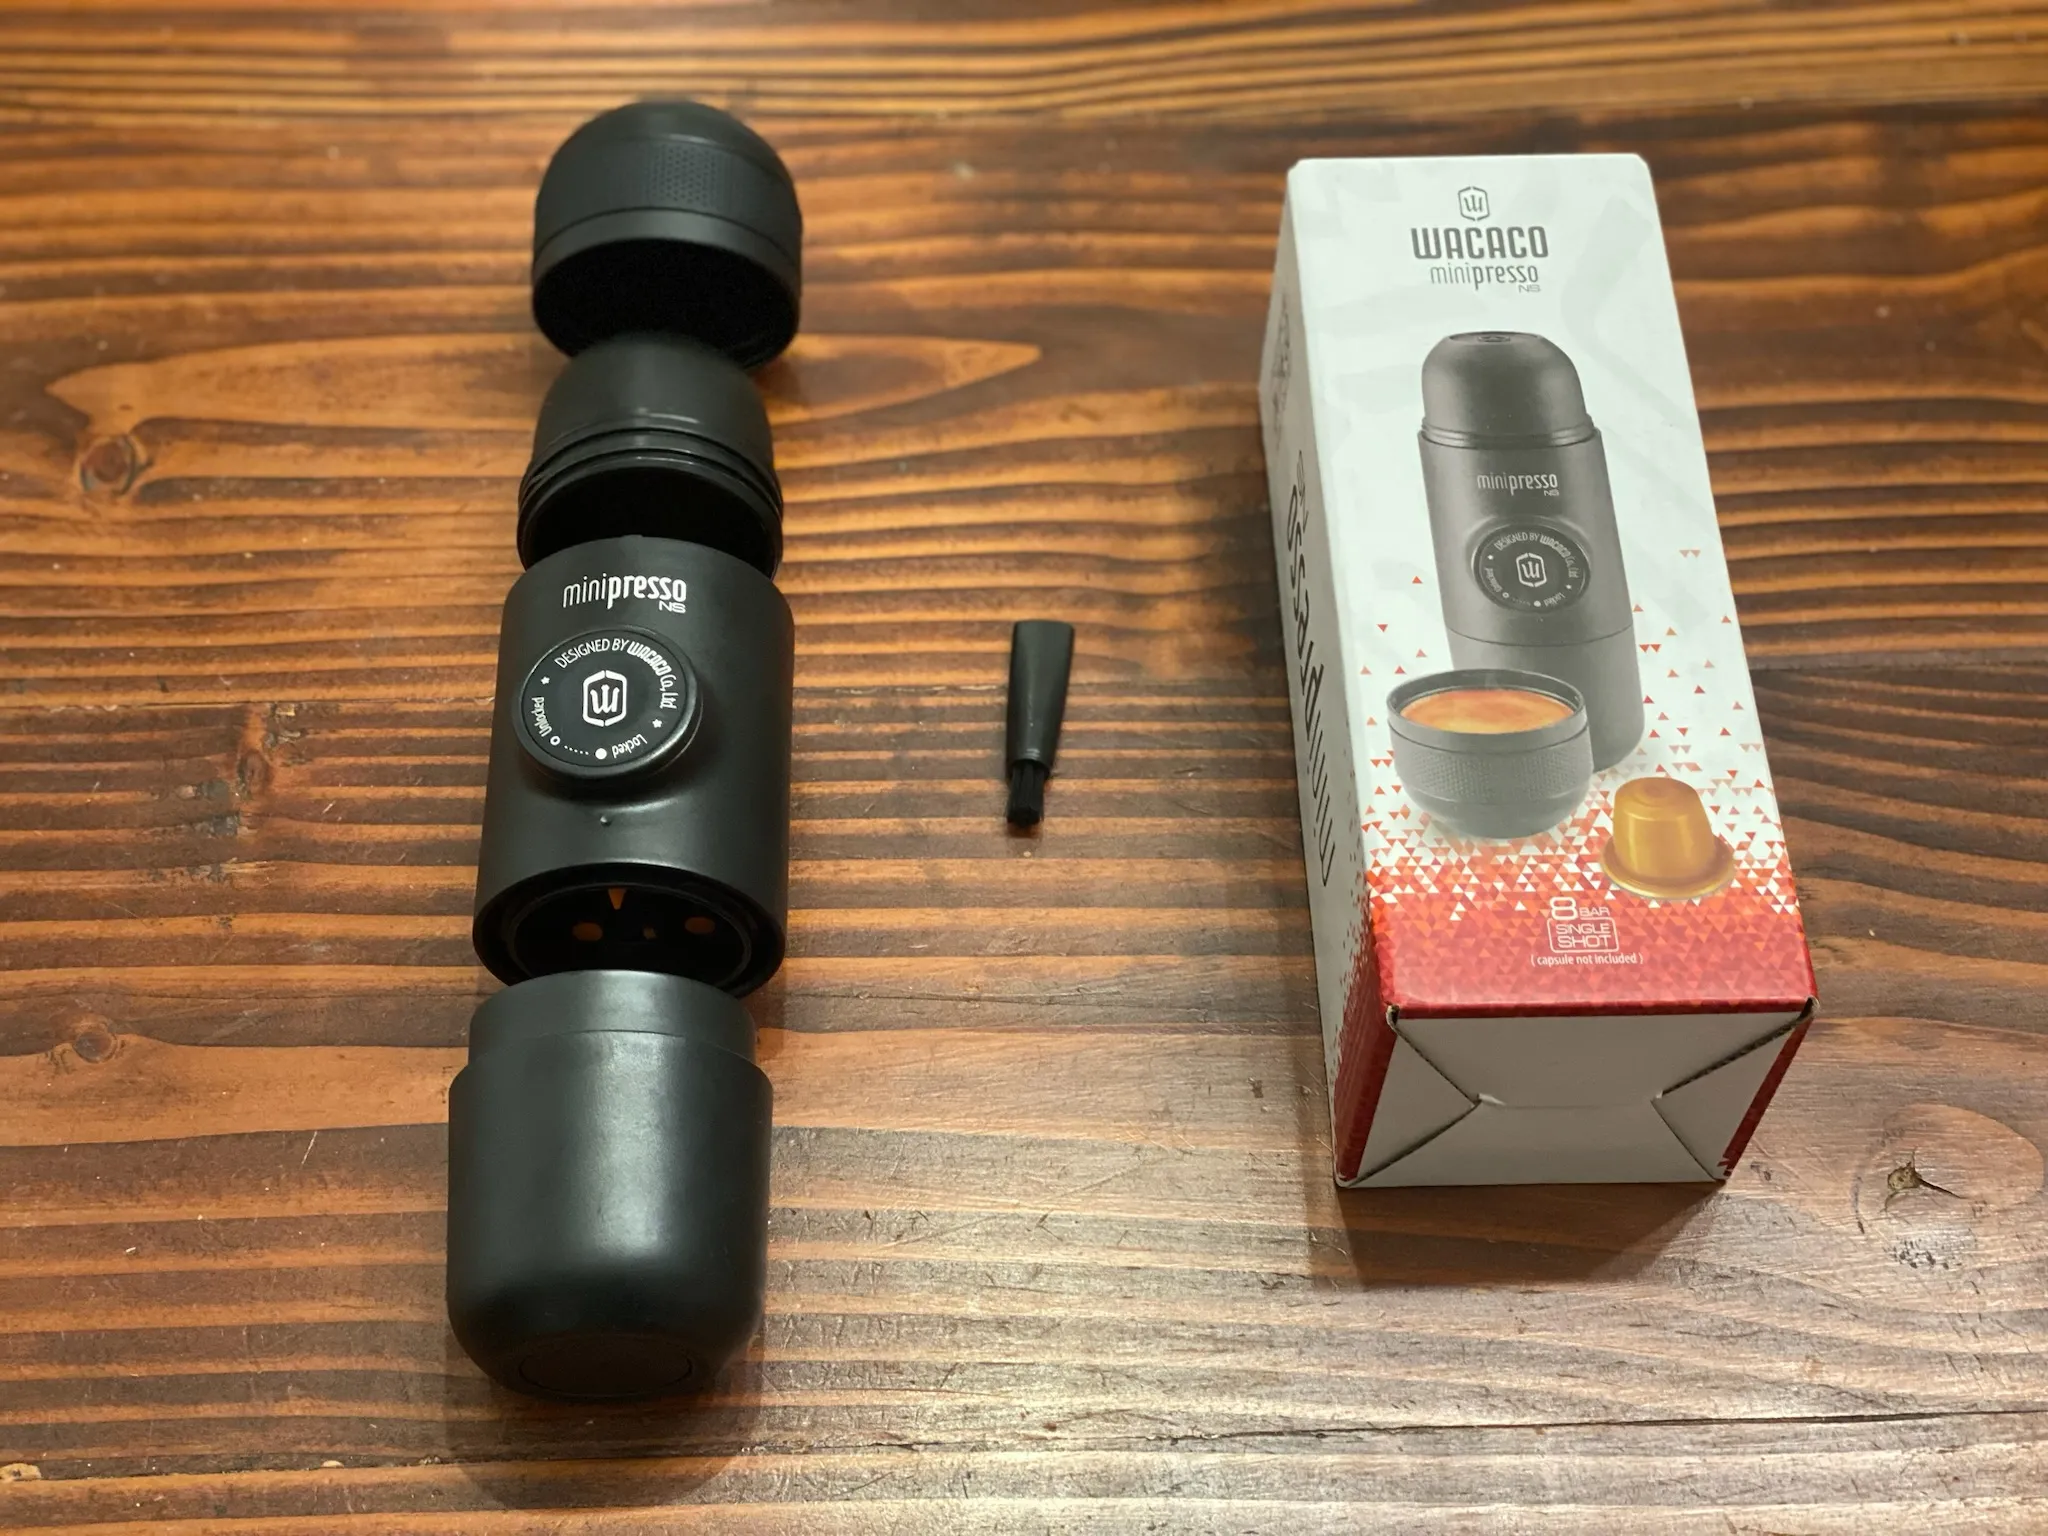
The Minipresso is a straightforward, manual espresso maker that takes Nespresso Original pods (note that it doesn’t fit the larger VertuoLine pods). Here’s an overview of how it works:
- Fill the water reservoir with hot water. The reservoir holds up to 50ml of water, which is enough for a single shot.
- Insert a Nespresso pod into the pod pocket.
- Screw down the lid, which punctures the pod on the top and bottom, much like a Keurig machine.
- Release the thumb pump and press and release it a few times to build pressure. It takes about 8 pumps to start seeing coffee. You can adjust how much you pump after that point based on taste.
- With the pressure built, hot water is forced through the pod to extract the coffee.
- Coffee flows through the bottom of the machine into your cup or the included espresso mug, which attaches to the bottom of the device for easy storage. Brewing takes place in under 1 minute.
A few things to note about the brewing process:
- You’ll need to provide your own heat source to heat up the water. I recommend getting a small portable kettle or pot you can use while traveling. You could boil over a fire if you’re backpacking or camping.
- Don’t just jam on the thumb pump to maximize pressure because your brew time will be too short. A little trial and error can help dial in the ideal number of pumps, but try pumping around 10 times, waiting 5 seconds, and then pumping once every 5 seconds until your shot is done. Adjust as needed.
- The brewing temperature also won’t get as hot as true espresso. But it’s possible to make a decent espresso-style shot.
Pro Tip
The heating chamber will suck some of the heat out of your water when you first pour. Preheat the brewing chamber with boiling water for the best results.
Other than providing hot water, the Minipresso is completely self-contained. It’s compact, lightweight, and doesn’t require any power source. This makes it an ideal portable brewing solution.
My Thoughts On the Minipresso: The Portable Keurig
After using the Minipresso on several backpacking and camping trips, I’m impressed with how well it works. The convenience factor is excellent, so I can get past the fact that the coffee is just okay. Being able to brew a fresh shot of espresso-style coffee without any electricity or other equipment is awesome.
This isn’t a daily driver. I think this device is ideal for certain scenarios and certain types of coffee drinkers. Here are some of the main benefits I’ve found:
- It excels for travel. The Minipresso takes up hardly any pack space and adds mere ounces to your load. Ultralighters…just bring caffeine pills?
- It’s easy and convenient to use. Pop in a pod, add hot water, pump a few times, and you’ve got coffee. The process is quick and simple.
- The coffee quality is decent. It won’t match true espresso or coffee from an AeroPress, but it makes a good strong cup that’s more convenient on the go. It has quickly become one of my favorite pieces of coffee equipment for travel.
- It’s self-contained and manual. No batteries or power needed.
- It’s affordable. The Minipresso costs around $50, but I’ve seen it for as low as $30. You can check Amazon for the current price and deals. Overall, a good value for a well-made portable brewer.
There are some drawbacks to consider, too:
- You need to provide your own hot water. This requires heating water in a separate container.
- The coffee isn’t amazing. Drinkable and decent, but lacking the richness and crema of true espresso.
- Cleaning and maintenance takes some care. You’ll need to disassemble and clean it thoroughly after use.
- Durability is questionable under heavy use. Some plastic parts may wear faster than on a metal brewer, especially if it’s banging around in a backpack.
Overall, I think the Minipresso is a game-changing product for people who love coffee and are often on the go, especially for those hitting the trails and in need of caffeine. It provides a convenience while traveling that few other manual, portable brewing methods can match.
The ability to have freshly brewed espresso-style coffee anywhere is huge for certain people. Is the Minipresso going to replace your home espresso machine? Of course not. But for its intended use as a portable Keurig-esque machine, it hits the mark.
I think this device is perfect for:
- Backpackers and hikers
- Campers
- Business travelers
- Those with super small kitchens
- Espresso drinkers on the go
If you love the ease and speed of single-serve coffee pods, but want that experience in a portable package, the Minipresso is tough to beat.
Wrapping Up: Do I Recommend the Minipresso as a Portable Keurig?
The WACACO Minipresso is the closest thing currently on the market to a true portable Keurig machine. While Keurig itself doesn’t make a battery-powered single-serve brewer, the Minipresso replicates that experience in a compact manual device.
It brews a shot of espresso-style coffee from Nespresso pods quickly and conveniently. The coffee quality won’t blow you away, but it’s quite good for a portable brewing device. It’s easy to use, easy to clean, and takes up minimal pack space.
If you love pod coffee on the go, the Minipresso is a product I wholeheartedly recommend. It’s opened up a world of coffee convenience for me while hiking and camping that no other portable brewer has matched. For certain travelers and outdoor enthusiasts, it’s an absolute game changer. You can read my complete review of the WACACO Minipresso for more information and specifications.
Frequently Asked Questions
Can you use off-brand/compatible pods in the Minipresso?
The Minipresso is designed for original Nespresso pods. Off-brand pods may not work as well, and I’ve run into some issues with compatibility. The pod shape and size needs to match up perfectly with the Minipresso so water flows through correctly under pressure. I tried a few brands of compatible pods and found they either didn’t fit right or resulted in weak, watery coffee. For best results, stick to official Nespresso pods or a reusable Nespresso pod.
What’s the difference between the Minipresso NS and GR models?
WACACO makes two versions of the Minipresso; the NS model is the original and smaller design made of plastic. The GR is a more recent premium metal model that is heavier and has a larger water reservoir (85ml as opposed to 55ml). The GR also comes with a protective silicone sleeve and a storage case. Aside from materials and size, the brewing function is the same. Get the NS if you prioritize light weight and compactness. Choose the GR for more durable construction and a larger shot capacity.