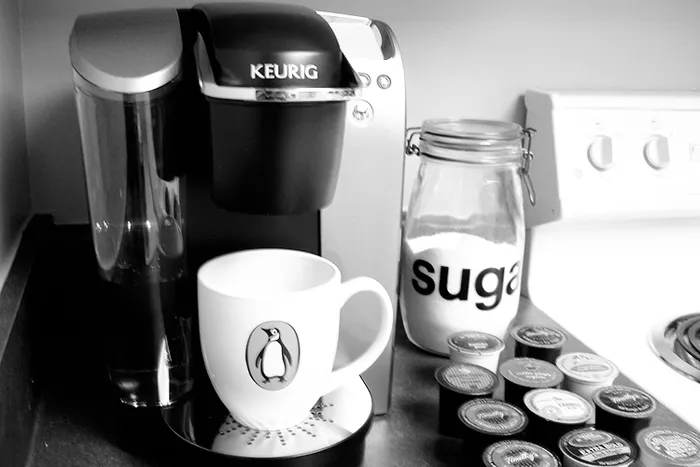
Water Not Coming Out of Keurig: How to Find and Fix the Problem

Back when I worked in an office, we had a Keurig coffee machine that was frequently on the fritz. Since I ONE TIME took an interest in solving the problem—probably out of desperation for caffeine—I became the designated Keurig repair expert. I learned first-hand how to diagnose issues with Keurigs not pumping water and how to fix them.
In this guide, I’ll share what I learned about getting water flowing again from a stubborn Keurig brewer.
Water Not Coming Out of Keurig: What’s the Issue?
If you’re finding water isn’t coming out of your Keurig machine, there are a few potential causes. The problem could be anything from an empty water reservoir to a faulty thermometer to scale buildup in your machine. I’ll walk through the most common issues, from easiest fixes to more intensive troubleshooting, in the sections below. Armed with this guide, you should be able to get your morning brew flowing again in no time.
1. Your Water Reservoir Is Empty or Not Attached Correctly
I know this sounds obvious, but sometimes it’s easy to overlook…especially early in the morning before you’ve had your caffeine.
Check that your water reservoir is filled and securely attached. Make sure you hear the reservoir click into place and that your water level is above the minimum fill line. An empty or disconnected water tank is one of the simplest reasons your Keurig won’t pump water.
I’ll casually look the other way if you’re clicking off of this page now. No judgment!
2. You Have Air in Your Water Lines
Here’s a common issue that can stop water flow: air bubbles in the water lines of your Keurig machine. This happens if the water reservoir is removed and replaced repeatedly, allowing air to sneak into the tubes, so it’s most common in busy offices. The air causes the water pump to shut down because it thinks the tank is empty when it’s not.
Luckily, this is an easy fix. Remove and empty the water reservoir to about 1⁄4 full. Then, rapidly place the reservoir back in and lift it up and down over and over. This forces the air bubbles out of the tubes. Keep priming the lines until you no longer see air bubbles coming out into your water reservoir.
3. The Hot Water Thermometer Needs Resetting
Keurig machines use a thermometer to monitor brewing temperature. If it becomes faulty, the machine will shut down and stop pumping water. The easiest solution is to reset the hot water system.
To do so, turn off and unplug your coffee maker, and then remove and empty the cold water reservoir. Set it aside.
Plug the machine back in, but leave it off. Press and hold the brew button. You should see water dripping out into your drip tray. Continue holding the button until all water stops dripping. Finally, refill the reservoir and turn your machine back on.
This refills the hot water reservoir inside the machine, resets the thermometer, and gets your thermometers working properly again.
4. You Need to Reset Your Machine
An issue with the machine’s electronics could prevent water from being pumped during brewing. Try fully resetting your Keurig as an easy fix.
Shut down the machine and unplug it from power. Let it sit for 30 minutes before plugging back in. This complete reset often resolves electronic glitches that cut off water flow.
Resetting probably isn’t the culprit, but it’s a simple fix to try just in case.
If I had to guess, this probably isn’t your issue, but since the solution is so simple, I had to include it here.
5. You Have Scale Build Up in Your Keurig
That descaling warning you always ignore? It could actually be causing water flow problems.
Here’s why: scale, caused by hard water minerals, coats the inside of your Keurig over time. It builds up inside the internal tubing and heating element, and all throughout the other internal components.
It can reduce water flow rate through your machine, but it also insulates the heating element, making it overwork to boil water. This causes the machine to shut down mid-brew as a failsafe if it hits unusually high temperatures.
To fix this, you’ll need to descale your machine. Use a store-bought descaling solution and run it through brew cycles. You can also use diluted vinegar. Descale a few times to clear the internal scale buildup so your machine functions properly again. Just make sure to run fresh, clean water through your machine a few times to rinse out any residue before brewing coffee again.
6. Your Water Pump is Broken or Faulty
The internal water pump in your Keurig machine moves cold water from the reservoir to the heating system. If it fails, your Keurig simply won’t have water to heat up and brew with, and it will shut off the flow of water as a failsafe.
To check the pump, unscrew the bottom or back faceplate to access the water line tubing. Inspect the plastic hose for leaks and cracks, and check the notoriously bad pinch-to-open hose clamp for proper functionality. Replace any faulty parts.
You may need to replace the entire pump if it seizes up, and this can get a bit expensive. If you’re under warranty, contact Keurig directly for a free replacement or repair. If you’re out of warranty, you can usually find a new pump online, but you might be better off just buying a new Keurig machine.
Wrapping Up: Water Not Coming Out of Keurig Machine
And there you have it: the common reasons water isn’t coming out of your Keurig machine, along with the steps to diagnose and fix them. Usually it’s a simple issue like an empty tank or air in the lines. But scale buildup, pump failures, and other problems can also prevent water flow.
With some troubleshooting and maintenance, you’ll get your morning brew back on track. Just be sure to descale regularly going forward!
Frequently Asked Questions
Why does my Keurig stop mid-brew and not finish dispensing water?
There are a few possible reasons a Keurig stops mid-brew and fails to finish dispensing all the water. The most common causes are air bubbles in the water lines, the hot water thermometer needing a reset, scale buildup insulating the heating element, or a faulty water pump. To fix these issues, try resetting the machine, priming the lines, resetting the thermometer, descaling, and checking the pump for proper functionality.
How do I know if a Keurig isn’t pumping water because of scale buildup versus a broken water pump?
You can usually distinguish between scale buildup and a pump issue based on other symptoms. Scale buildup causes gradual problems, like taking longer to heat up and brew, or unusual noises coming from your machine while brewing. A broken pump causes an immediate stoppage of water flow or water leaking from the bottom of your Keurig. Descaling the machine is an easy first step. If that doesn’t work, it likely indicates a water pump failure instead.
My Keurig turns on but won’t brew. What should I check first?
If your Keurig turns on but won’t actually brew, the first things to check are making sure the water reservoir is filled above the minimum line and securely clicked into place. Also try priming the water lines by removing and replacing the reservoir several times to eliminate air bubbles. These are easy fixes that take just a minute. If those don’t work, you might have to open your machine to look for internal damages. Consider sending your machine to Keurig if you’re still under warranty.
How do I reset the hot water thermometer in my Keurig machine?
To reset the hot water thermometer, power off and unplug your Keurig. Detach and empty the water reservoir completely. Plug the machine back in, place a cup under the brewing spout, but leave the machine powered off. Press and hold the brew button until all water is dispensed. Refill the reservoir, and turn the machine back on. This forces a reset of the thermometer to fix inaccurate temperature readings.